REVIEW · PARIS
Photo weekend for beginners
Book on Viator →Operated by PhotoProf - Cours de photographie · Bookable on Viator
Paris at 10 a.m. can teach you fast. This PhotoProf weekend is interesting because it’s built around hands-on shooting in real conditions, not just classroom talk, and it runs with a small group so you get feedback instead of vague pointers.
I also like that the teaching method is practical: you learn the controls, then you use them the same day, day and night, outdoors and indoors. The main drawback is simple: it’s an intense 10 a.m. to 6 p.m. rhythm for two days, and there’s no camera loan, plus the experience requires good weather, so plan for the possibility of a date swap or refund.
In This Review
- Key things you’ll notice right away
- Why this Photo Weekend works for absolute beginners
- Day 1 (10 a.m.–6 p.m.): take control of aperture, shutter, and focus
- Manual mode (plus A/Av and S/Tv) without the fear
- Day 1 field sessions: learning through errors and quick feedback
- Meet Alexis: coaching that’s about listening, not just lecturing
- Day 2 (10 a.m.–6 p.m.): make the shot feel finished
- Exposure tools that actually help you in the moment
- Color control: white balance and saturation
- Composition: arranging what you already captured
- Price and value: what $370.43 buys you in real learning time
- Logistics that matter: meeting point, group size, and timing
- What to bring (and what you can skip)
- Who this weekend suits best
- Should you book PhotoProf’s Photo Weekend for Beginners?
- FAQ
- How long is the PhotoProf photo weekend for beginners?
- Where do I meet for the course?
- What does the course cost?
- Is there a group size limit?
- What’s included in the price?
- Do I need to bring a camera?
- What time does the weekend start?
- Does the course depend on weather?
Key things you’ll notice right away
- Real-world practice from minute one instead of endless slides and theory
- Day 1 focuses on the core controls: aperture, shutter speed, and focus modes
- Day 2 turns basics into finished shots with exposure tools and color control
- Small group size (max 8) for more direct coaching and faster corrections
- Support after the course with a booklet, video materials, and a memorial diploma
Why this Photo Weekend works for absolute beginners
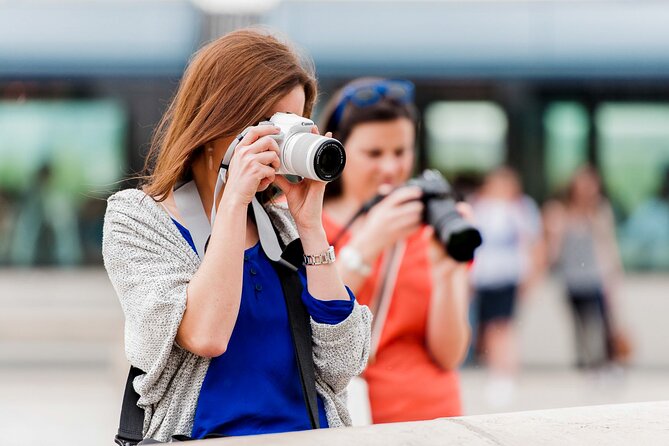
If your camera feels like a complicated gadget instead of a tool, this weekend is designed to fix that. PhotoProf’s method is about immediate application: learn a setting, then go use it, then adjust based on what you see. That cycle matters because photography is visual, and your eyes need time to connect a knob or mode to the result.
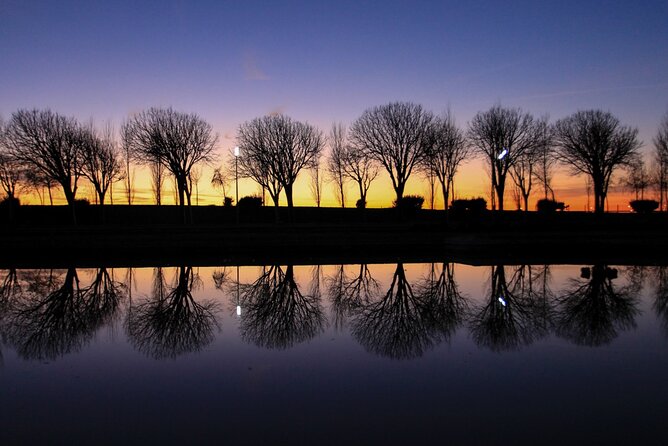
The course also keeps you in the field whenever possible. You’re practicing under real light and real weather—conditions where mistakes actually teach you what exposure looks like in the wild. That’s how you stop guessing and start steering your camera with confidence.
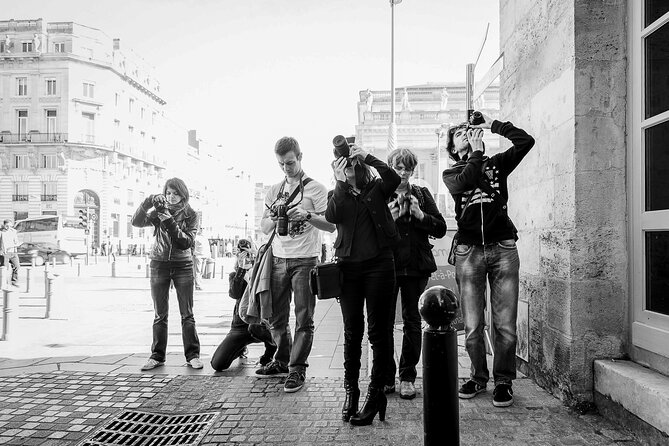
And since the sessions run with a maximum group size of 8, you don’t disappear behind the crowd. You can ask a question, get a straight answer, and test it right away. On a beginner course, that speed is huge.
You can also read our reviews of more tours and experiences in Paris.
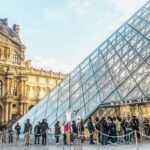

Day 1 (10 a.m.–6 p.m.): take control of aperture, shutter, and focus
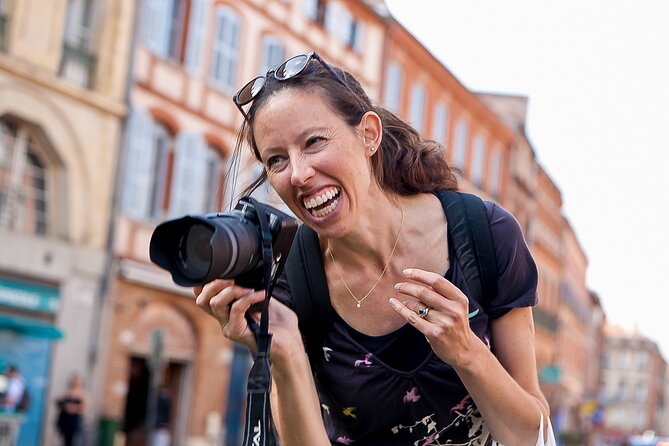
Day 1 is all about getting your hands on the fundamentals. You start by learning how to separate the camera settings that affect your photo, so your images become predictable. Instead of thinking, my camera is doing something random, you learn the cause-and-effect behind the rendering.
You’ll cover diaphragm opening and depth of field, and that’s more important than it sounds. Many beginners take one look at portraits and think the blur is magic. Here you learn how aperture changes background softness and why that changes the story in the frame.
Then you move to shutter speed and motion management. This is where you start controlling whether movement looks frozen, blurred, or dramatic. Even if you mostly shoot street scenes, shutter speed is the lever that decides if people look crisp or like ghosts.
Finally, you’ll work with point or continuous focus. This helps you choose how your camera tracks a subject. The goal isn’t memorizing terms; it’s learning when one focus behavior makes your life easier than the other.
Manual mode (plus A/Av and S/Tv) without the fear
By the end of Day 1, you’re not just aware of settings—you can actually work with them. The course guides you into using:
- Manual mode
- Aperture Priority (A / Av)
- Speed Priority (S / Tv)
A lot of beginner courses leave you knowing definitions. This one aims at usable competence. That means you can walk around Paris at different times and still control how the image turns out.
You’ll practice day and night, indoors and outdoors. That matters because light changes constantly. The controls you learn in daylight should still work when the street lamps kick in or when you’re dealing with indoor shadows.
Day 1 field sessions: learning through errors and quick feedback
What makes Day 1 click is that the lessons happen while you’re shooting. PhotoProf is clear about why: learning in real conditions helps practice, discussions, and experiments, including correcting specific errors on the spot. If your exposure is off, you don’t just hear a lecture—you see exactly what went wrong and how to fix it.
Here’s what you’ll get out of that approach as a beginner:
- You build a mental map of what your camera does in your hands.
- You stop waiting for perfect subjects or perfect lighting.
- You learn to troubleshoot instead of abandoning the shot.
In a small group, that troubleshooting is faster. You can try a change, check the result, and keep moving. And you’re likely to notice that the course doesn’t treat mistakes as failure. It treats them as data.
Meet Alexis: coaching that’s about listening, not just lecturing
One name you’ll hear connected to the instruction is Alexis. The teaching style is described as accessible and focused on exchanges. That shows up in how beginners typically struggle: they don’t need more camera jargon, they need someone to translate what they’re seeing into one clear next step.
From the way the weekend is described, the emphasis isn’t only technical skill. It’s the combination of passion, listening, and benevolence—meaning the instructor wants you to improve and wants you to enjoy the process while you do it. For a two-day workshop, that attitude matters. If you feel comfortable asking basic questions, you learn faster.



Day 2 (10 a.m.–6 p.m.): make the shot feel finished
After a night to reset your brain (and charge batteries), Day 2 builds on your new control. If Day 1 is about the camera’s main levers, Day 2 is about combining them into a photo that looks intentional.
Day 2 starts with ambient light and weather. You’ll work with light scenarios like backlight and darker conditions, plus different weather setups such as sun and cloudy skies. This is valuable because “correct exposure” isn’t one universal number. It changes based on what kind of light you’re dealing with and what mood you want.
Exposure tools that actually help you in the moment
Next comes exposure control in a more detailed, practical way. You’ll learn techniques aimed at managing exposure using:
- Light metering modes
- Exposure locking
- Histograms
- Exposure correction
- Luminosity indices and stops
Let’s make that useful. A histogram looks intimidating until you use it a few times and realize it tells you where tones sit. Exposure locking helps when your camera keeps judging the wrong thing, like when the background is much brighter than your subject. Exposure correction is the shortcut to correcting the camera’s guess when you want your image to land in a specific brightness range.
You’re also learning “stops” and the language of adjustment. That gives you a way to communicate with your own decision-making: if the image feels too dark, you know what to change and by how much.
Color control: white balance and saturation
Then you’ll tackle colors, including white balance and saturation. These settings can dramatically change how your photos feel. The goal isn’t to make everything “Instagram correct.” It’s to understand how the camera interprets light and how you can nudge that interpretation.
Once you control white balance, you stop fighting yellow indoor light or inconsistent color shifts in changing outdoor conditions. Saturation control also helps you avoid the common beginner problem where photos either look dull or overcooked.
Composition: arranging what you already captured
Finally, Day 2 covers composition. This is where the technical choices meet the eye. Composition advice helps you decide what to include, what to leave out, and how to guide attention through a scene. Since you already practiced exposure and focus, composition can become a deliberate choice instead of an afterthought.
Price and value: what $370.43 buys you in real learning time
At $370.43 per person for about two days, this isn’t a “grab and go” activity. You’re paying for structured coaching plus time to apply the lessons while walking and shooting around Paris.
Here’s why the value can make sense for beginners:
- You get a full day focused on core camera controls and a second day focused on finishing shots.
- You’re not relying only on explanation; you’re using the settings in real conditions.
- The course includes written course support (a booklet), video materials after the session, and a memorial diploma.
Also, the course doesn’t require you to rent or borrow a camera. That can save time and money, assuming you already have a camera that can access manual mode and priority modes (A/Av and S/Tv). If you don’t have that, the course may still motivate you, but you’ll want to get clarity before booking.
One practical note: the experience requires good weather, and if it’s canceled due to poor weather you’ll be offered a different date or a full refund. If you’re scheduling this around a tight Paris trip, it’s smart to keep some flexibility.
Logistics that matter: meeting point, group size, and timing

You meet at 115 Pl. du Carrousel, 75001 Paris, France, starting at 10:00 a.m. The activity ends back at the same meeting point.
The group maxes at 8 travelers, which is one of the quieter reasons these courses work. In a smaller group, the instructor can see what each person is doing and catch common mistakes sooner.
It’s also good that it’s near public transportation. In Paris, that matters more than people think, especially when your day includes long practice blocks and you’ll want easy access to gear and quick breaks.
You’ll receive a mobile ticket, which is handy for keeping everything in one place.
What to bring (and what you can skip)

The big thing: plan to use your own camera. The course doesn’t include camera loan.
Beyond that, use common sense for a street-heavy, all-day experience:
- Wear comfortable shoes for walking and shooting.
- Bring any memory cards and batteries you need for two full days.
- If your camera has a manual exposure mode and priority modes, you’re set for the content taught.
Also, you don’t need to bring a specific lens unless you want one. The course focus is on learning camera behavior and using your settings, not on buying equipment. If you do have multiple lenses, you might experiment, but the workshop itself is designed around technique that applies widely.
Who this weekend suits best
This is a strong match if:
- You’re new to manual exposure thinking.
- You want to learn the basics in a structured way, not random YouTube binges.
- You’re comfortable asking questions and learning by trying again.
It’s also a good fit if you travel to Paris and want a reason to slow down and look longer. The course schedule encourages you to practice seeing: light, focus, framing, and tone.
It may not be ideal if:
- You can’t commit to full days (10 a.m.–6 p.m. twice).
- You’re hoping for a low-effort introduction where you only watch and observe.
- You don’t have a camera that lets you use manual and priority modes.
Should you book PhotoProf’s Photo Weekend for Beginners?
I’d book it if you want real control over your camera settings and you learn best by doing. Two days is long enough to change habits, not just learn definitions once. The mix of aperture, shutter, focus, exposure tools, and color plus composition gives you a complete path from basics to finished images.
I’d think twice if your trip has no weather flexibility, or if you don’t already have a camera you can confidently use in manual and priority modes. Those are the two practical friction points.
If you’re ready to work for your photos in a supportive small-group setting with instruction from PhotoProf’s team and Alexis, this weekend is the kind of training that can turn your camera from a mystery into a tool you actually enjoy using.
FAQ
How long is the PhotoProf photo weekend for beginners?
It runs for about 2 days, with sessions from 10:00 a.m. to 6 p.m. both days.
Where do I meet for the course?
The meeting point is 115 Pl. du Carrousel, 75001 Paris, France. The activity ends back at the meeting point.
What does the course cost?
The price is $370.43 per person.
Is there a group size limit?
Yes. The course has a maximum of 8 travelers.
What’s included in the price?
Included are written course support (a booklet), video course materials after the session, and a memorial diploma.
Do I need to bring a camera?
You do. There is no loan of a camera, and it’s described as not necessary to borrow one.
What time does the weekend start?
The start time is 10:00 a.m.
Does the course depend on weather?
Yes. It requires good weather. If it’s canceled due to poor weather, you’ll be offered a different date or a full refund.